
Where the mark goes. How it's printed.
Every Smart PPE™ item carries the brand at two moments: point of sale and point of use. This section covers what's mandatory, where it goes, and how to spec it for print.
Packaging elements
Four things on every Smart PPE™ product.
These are four ways you can amplify the smarts of your product. We recommend every item made smart has a combination of these elements to help customers understand the full benefits of Smart PPE and how to use it.
- 1Scannable Smart PPE™ identifier
Whether that's the box or carton the product comes in, or it's on the product surface itself — use this alongside the hangtag to make interacting with the item easier.
Use the correct variant for the background.
- 2Smart PPE™ wordmark
Anywhere the product is described by category — on-pack copy, spec sheets, product pages.
Trademark (™) on first use per surface. Title case throughout.
- 3Scannable technology sticker
Adjacent to the location of either the NFC tag or 2D code on the product, or on the packaging near the product diagram.
Tells the buyer where to tap or scan.
- 4The Scannable hangtag
Attached to every Smart PPE™ item.
If there was only one packaging element you were to use — this is the premier one. They are provided free of charge. You can order via orders@scannable.io. Do not design your own replacement, or adjust this design.
Physical touchpoints
Packaging placements to support the customer experience.
This varies from item to item — these are the best ways to leverage every physical touchpoint to help consumers understand your products are smart. For maximum impact, use across multiple surfaces.
Coming Soon
Placement
Powered by Scannable sticker, or Scannable Smart PPE sticker applied in a prominent position — this could be alongside any other product information or next to your brand. Two options: 'Powered by Scannable' or 'Scannable Smart PPE' lockups.
Minimum size
Lockup minimum 16 mm wide. Match height to your wordmark's x-height if co-located.
Notes
Use the light variation on dark cartons and cardboard, and the dark variation on white. No hard rules — use what sits alongside your packaging best, just don't change the Scannable logos. Contact us to discuss changes.
Coming Soon
Placement
Scannable Smart PPE sticker on the front face — positioned next to other branding, or where that's not possible, aligned to one of the corners of the bag.
Minimum size
Sticker minimum 50 × 30 mm. Lockup minimum 16 mm wide within the sticker.
Notes
This complements the Scannable hangtag well, which is threaded through the product — the polybag sticker is another brand touchpoint.
Coming Soon
Placement
Attached to the actual product — this could be through a product label, on the item itself, or inserted into the box where the tag can't be attached. This is the key item as it contains the instructions on how to interact with the product.
Minimum size
50 × 50 mm standard (SCN-119). Larger formats available. See Assets for print files.
Notes
Do not design or print your own hangtag. Order from Scannable — we supply them free of charge.
Coming Soon
Placement
Depending on whether the item is using a 2D code or NFC code, there is a range of stickers that can be used. They should be placed close to, or adjacent to, the location — this might be on the product, or on the packaging depending on what the product is. The goal is to indicate where to tap, or what action to take.
Minimum size
Squircle minimum 8 mm / 24 px. Do not scale below this.
Notes
The squircle should be visible because it is physically there — never add it in post-production photography. Along with the hangtag, this is another prominent placement that drives action.
The hangtag
Every item ships with Scannable Smart PPE™ hangtag – provided free of charge.
You do not design it — you order it. It comes in four formats to fit different product attachment methods. Whilst we prefer you request them from us, we've provided the below print ready files should you want to print them at the point of manufacture.
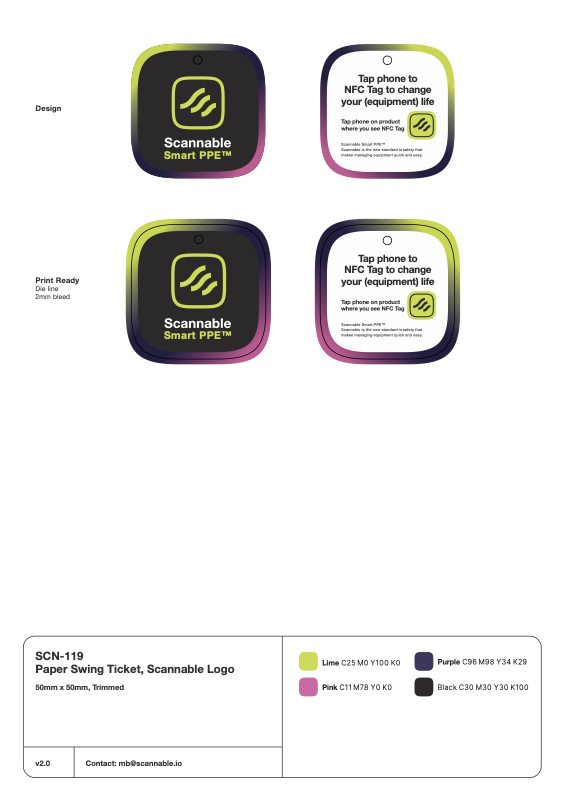
SCN-119
Standard
4mm Ø hole · 50 × 50 mm · NFC
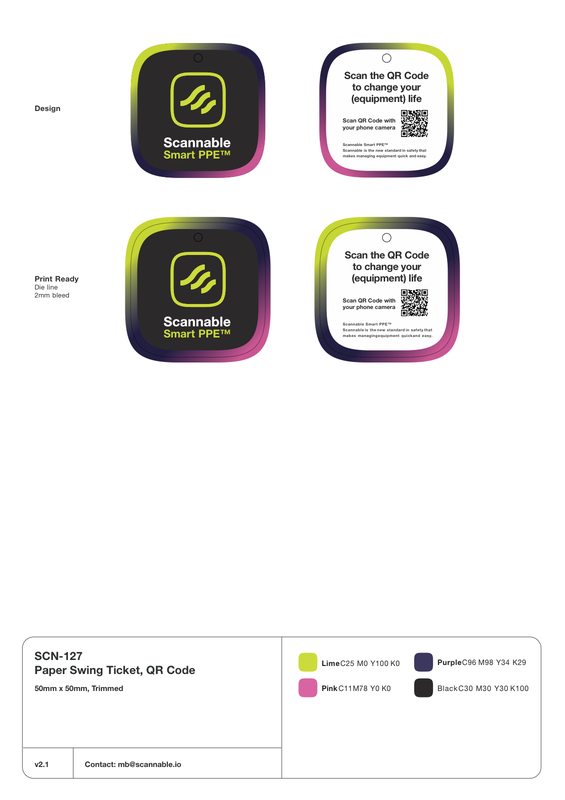
SCN-127
QR Code
4mm Ø hole · 50 × 50 mm · QR / Data Matrix
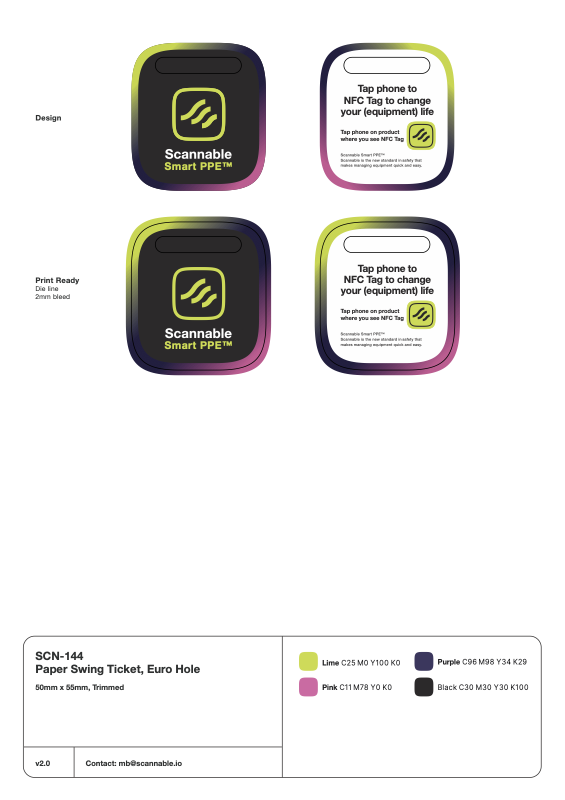
SCN-144
EU Slot
32 × 6 mm slot · 50 × 55 mm · NFC
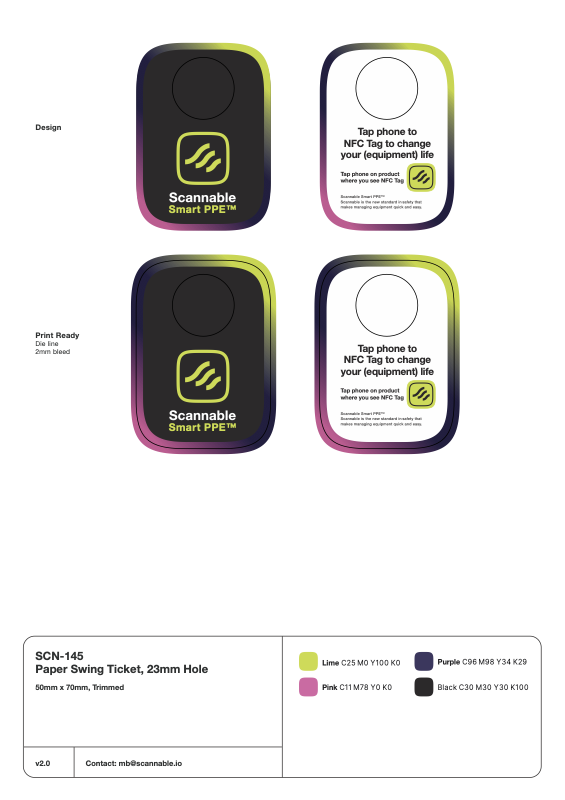
SCN-145
23mm Hole
23mm Ø hole · 50 × 70 mm · NFC · For strops and webbing
Explainer
A walkthrough of the hangtag formats and their purpose.
The 2D code sticker
An additional sticker for products with a 2D code.
For products that carry a 2D code (QR or Data Matrix) rather than an NFC tag, apply this sticker alongside the code to guide people through the scan experience. It tells the buyer what the code is and what to do — turning an unfamiliar mark into a clear next step. Use it in addition to the hangtag, not in place of it.
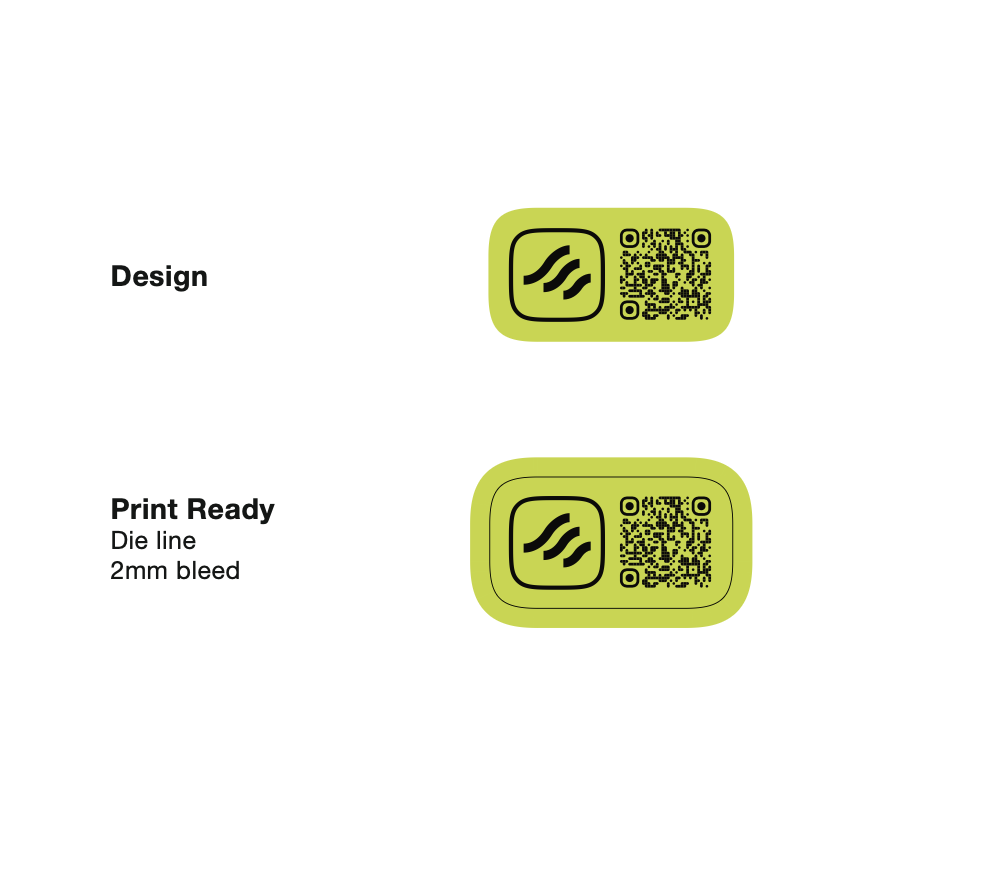
SCN-130
2D code sticker — Scan & QR / Data Matrix
For products with a 2D code · supports the scan experience
Print specifications
If you really need to print them – colour values & standards for print production
Use these CMYK values when sending artwork to print. The hex equivalents are for digital reference only — always convert to CMYK for physical production.
Lime
C25 M0 Y100 K0
#CCFF00
Squircle icon, accent, CTA
Magenta
C11 M78 Y0 K0
#FF4CCF
Gradient bleed edge
Purple
C96 M98 Y34 K29
#201B30
Background, squircle fill
Black
C30 M30 Y30 K100
#000000
Rich black for text
- Colour modeCMYK for all print production. RGB / hex for digital only.
- Bleed2 mm bleed on all print files.
- Minimum print sizeLockup: 16 mm wide. Squircle mark: 8 mm wide.
- Paper stock (hangtag)350 gsm coated card, squircle die-cut.
- FinishNo varnish or laminate on the gradient bleed edge — it should bleed to the cut.
Don't